


Easter Egg Decorating Ideas
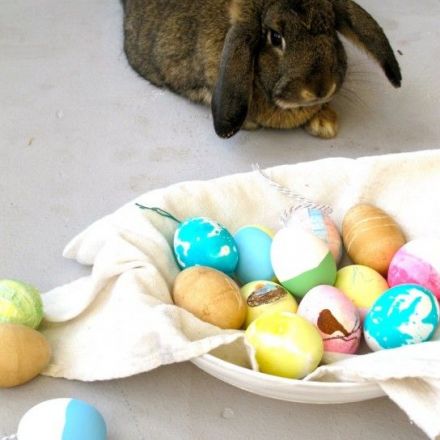
Dyeing and decorating Easter eggs is one of our favorite holiday traditions, and we’re always on the lookout for new ways to express our creativity.
-
 PAPERED EGGS
Here, you can use different colored tissue papers or buy soft white sheets of tissue or onion skin paper and color the sheets in with colors you choose; either way, it just needs to be soft, bendable/moldable paper. Then, fold the paper and cut it into strips about 2 inches long. The strips can be irregular — they do not have to be perfect. Use a glue stick to guide a line for the first strip and continue until the egg is covered in lines of color. I alternated colors here, but you can do it all one color, whatever you like. I like the texture of the hand colored paper; it feels more organic, but that’s just me!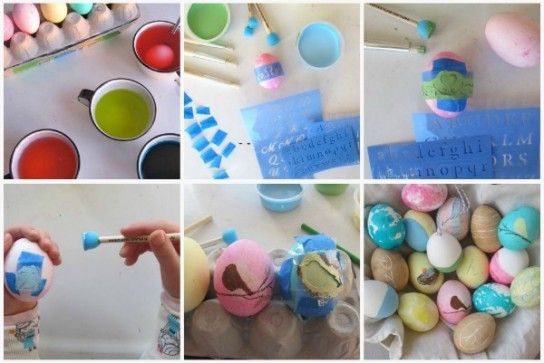 STENCILED EGGS
Stencils, foam brushes, and paints are available at many craft stores; you can find a great variety of letters and designs, just make sure they are pliable so you can get them around the surface of the egg. Start with a white boiled egg and do a stenciled pattern all over it with paint, or you can first dye the egg a solid color and then stencil another color in paint over top. I prefer the dyeing and stenciling because it’s more colorful. This also can be done on a hollow egg, though you must be careful with how much pressure you use when stenciling so not to break the egg.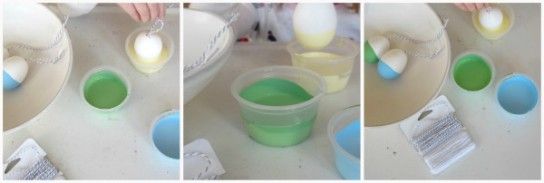 PAINTED EGGS
Fill up plastic cups halfway with color acrylic paint, available at hobby and craft shops. You can use glossy enamel, matte finish…any finish you please. Dip eggs into the paint deep enough so that the paint goes halfway up the egg (or however much you want color on the egg). Dip the egg a few times to ensure you get a good, solid color. This also is a great technique for blown eggs, which look great hanging from branches as part of a centerpiece.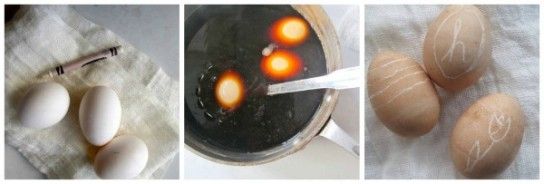 NATURAL BROWN EGGS
Make natural brown eggs by boiling uncooked eggs in coffee; you can use instant coffee, or even leftover coffee from your morning brew. Boil for 9 or 10 minutes, keeping an eye on them until they reach the color you are looking for.
To create designs on brown eggs, draw on the eggs with a white crayon before they go into the coffee. Make sure the lines are thick enough so they won’t take on the color from the coffee. You can also use white crayon on other dyed eggs–just draw on the eggs after they are boiled in water before submerging in colored dye.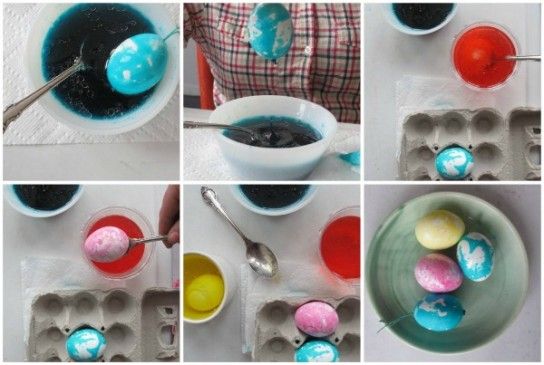 MARBLED EGGS
Choose your dye; this can be regular dye or a natural dye. To create a marbled effect, fill plastic or glass cups with 1/2 cup water, 2 Tbsp. white vinegar, 1 Tbsp. vegetable oil, and the dye. The separation of oil in the liquid will create a marbled effect. Use a spoon to move the egg around and coat in the liquid.
 BOILING AND BLOWING
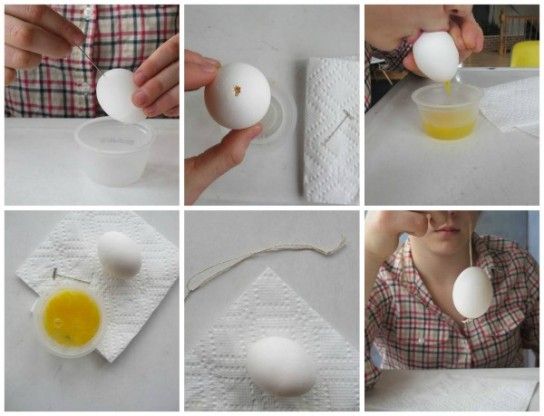
To boil eggs for dyeing, bring the eggs to room temperature. Gently set them in a large saucepan and fill with tepid water to cover the eggs by 1 inch. Bring the water to a boil over medium heat and add a large pinch of salt. Reduce the heat to low and simmer the eggs for 12 to 15 minutes, depending on size. For blowing eggs, find a small container and a safety or T-pin. Poke a hole in both ends of the egg, place your mouth over one end and blow the insides into the container. You might need widen the holes a bit with the pin to make sure the yolk comes through. Rinse the egg with water after it is empty.
If you want to hang the blown egg, take a long needle (like a crochet needle), thread your string with a thick knot tied at the end, and insert the needle through to come out the other side. Cut and tie the top off; you’re now ready to decorate. -
There are so many creative ways to dye eggs at home naturally. Now hop to it!


Join the Discussion